
Getting Started
App Requirements:
- You must have a TeleGo Portal username and password.
- To use the dialer portion of the app, you must have your valid extension saved to your user details.
- To use the Messaging portion of the app, you must have permission to use SMS in the TeleGo Portal, and you must have at least one phone number assigned to your account for messaging.
- To use the Contacts portion of the app, you must have permission to access Contacts in the TeleGo Portal.
- The app is currently only available on Windows.
Logging In:
There are 3 ways to log into the TeleGo Portal App
-
Use your username and password for portal.telego.com.
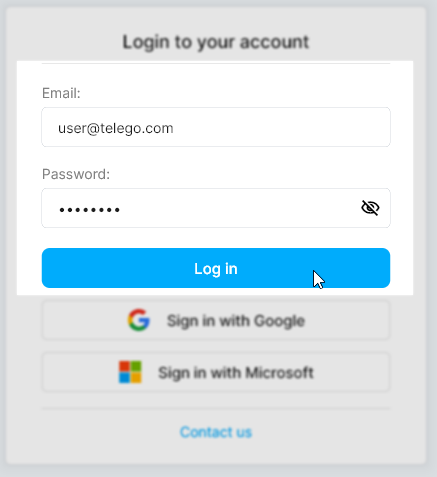
- Google Single Sign-On:
-
Click Sign in with Google on the app login screen
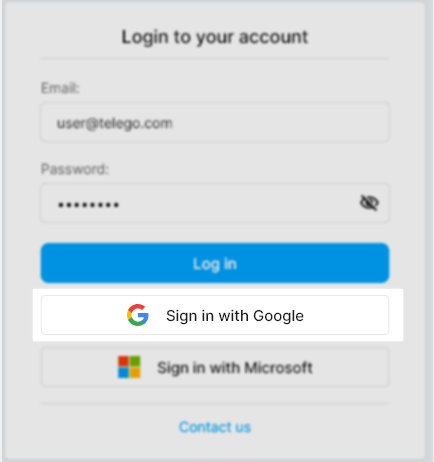
-
You will be redirected to your browser. Click the Google account you'd like to sign in to the app with (if you're not already signed in, then click the Open TeleGo button once the popup appears in your browser. You should then be logged in.
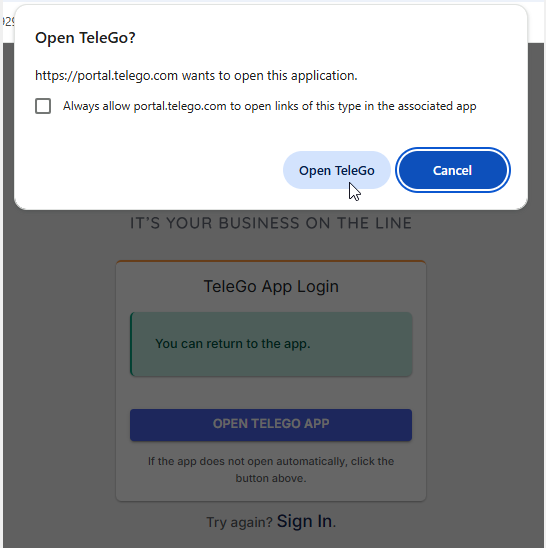
-
- Microsoft Single Sign-On:
- Click Sign in with Microsoft on the app login screen
-
You will be redirected to your browser. Log into the Microsoft account you'd like to sign in to the app with, then click the Open TeleGo button once the popup appears in your browser. You should then be logged in.
If at any point you'd like to cancel Google or Microsoft Single Sign-On, click the Back to Login button on the app.

Phone Dialer
Once you log in, you should be taken to the Dialer tab of the app.

User details on the dialer:
From the Dialer tab you will see your caller ID and your extension and your connection status.
Connection Statuses:
- Green: Registered or connected
- Yellow: Do Not Disturb is enabled
-
Grey: Not Registered or not connected. Contact TeleGo Support this persists.
Example of a green connected status:

Making an outgoing call
-
Dial the number for the outgoing call you'd like to make by using the keypad, or typing or pasting the number into the Dial a number section. Then click enter or click the green call button.
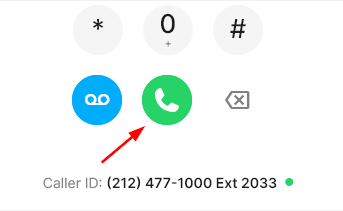
-
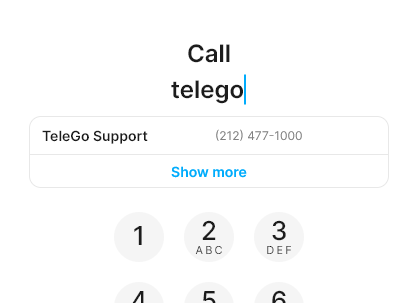
You can also search for a contact by starting to type in a phone number or name the Dial a number field, and selecting one of the search results. Then click enter or click the green call button.
Accepting an incoming call:
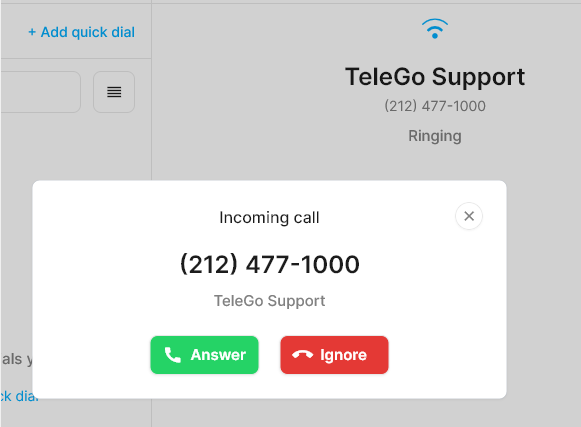
There are two ways to accept an incoming call:
- Directly from the app.
2. Windows notification:
Answer or decline a call directly from your Windows notification when the app is minimized.

Mute a call
Click the mute button to mute or unmute during an active call.

Put a call in hold
Click the hold button to put a call on hold. Click the hold button again to take a caller off hold.

Access the keypad during an active call
Click the Keypad button to access the keypad during a call.

Transfer a call
Click the Transfer button on an active call to transfer an active call. When the transfer display appears, enter the phone number that you'd like to transfer the call to. Then click one of the two options:

- Blind Transfer: Send the call to another phone number or extension immediately.
- Attended Transfer: Speak with the phone number or extension you're transferring to before transferring the call.
Make a conference call


Change audio input / output during a call
Quick Dial
Adding quick dial contacts
To add a quick dial contact, click the +Add quick dial button at the top of the quick dial panel to open the Add Quick Dial page.

Enter the name and the phone number or extension of the contact you'd like to add.

If the contact you're adding is an extension within your phone system, select Enable BLF to show that extension's availability and status on your quick dial list.


Using quick dial
Search for a specific quick dial contact using the search field:

Click directly on the contact's name to edit their quick dial information.

Click direct on the phone icon to call a quick dial contact.

Reorder quick dial contacts
To reorder your quick dial contacts, click the reorder button to enter reorder mode.

When in reorder mode, click the icon on the right side of your desired contact name and drag to your desired location.

Once your contacts are in your desired order, click the button to exit reorder mode, and your contacts order will be saved.

To reset your contact order to alphabetical, click the Reset button while in reorder mode.

Call Logs
To access your call log history click the Call logs text on the top left of your app.

Your call logs are separated into 3 tabs: All calls, Answered, and Missed.
Click on a call to view call details